If you’ve ever watched a cheap pepper mill die on a box of coarse pink Himalayan salt, you already understand the central problem. Knowing how to grind pink salt correctly — and which tool to use — saves you money, frustration, and unevenly seasoned food. This guide covers why pink salt puts unusual stress on grinder mechanisms, how to choose between ceramic and steel, manual and electric, and exactly how fine to grind for whatever you’re cooking.
For a broader look at how pink salt behaves in the kitchen, start with the complete guide to cooking with pink salt.
Why Pink Salt Is Hard on Grinders
Himalayan pink salt is mostly sodium chloride — the same compound as table salt — but it isn’t pure sodium chloride. The distinctive rosy color comes from trace iron oxide, and the crystal matrix also contains small amounts of other minerals, including silica-bearing compounds. Pure NaCl sits around 2 to 2.5 on the Mohs hardness scale, which is soft enough that most grinder mechanisms handle it without issue. The trace impurities in pink salt, particularly silica, can push certain mineral particles significantly higher on that scale — quartz, for comparison, sits at 7. The cumulative effect is a salt that’s measurably more abrasive than refined iodized table salt.
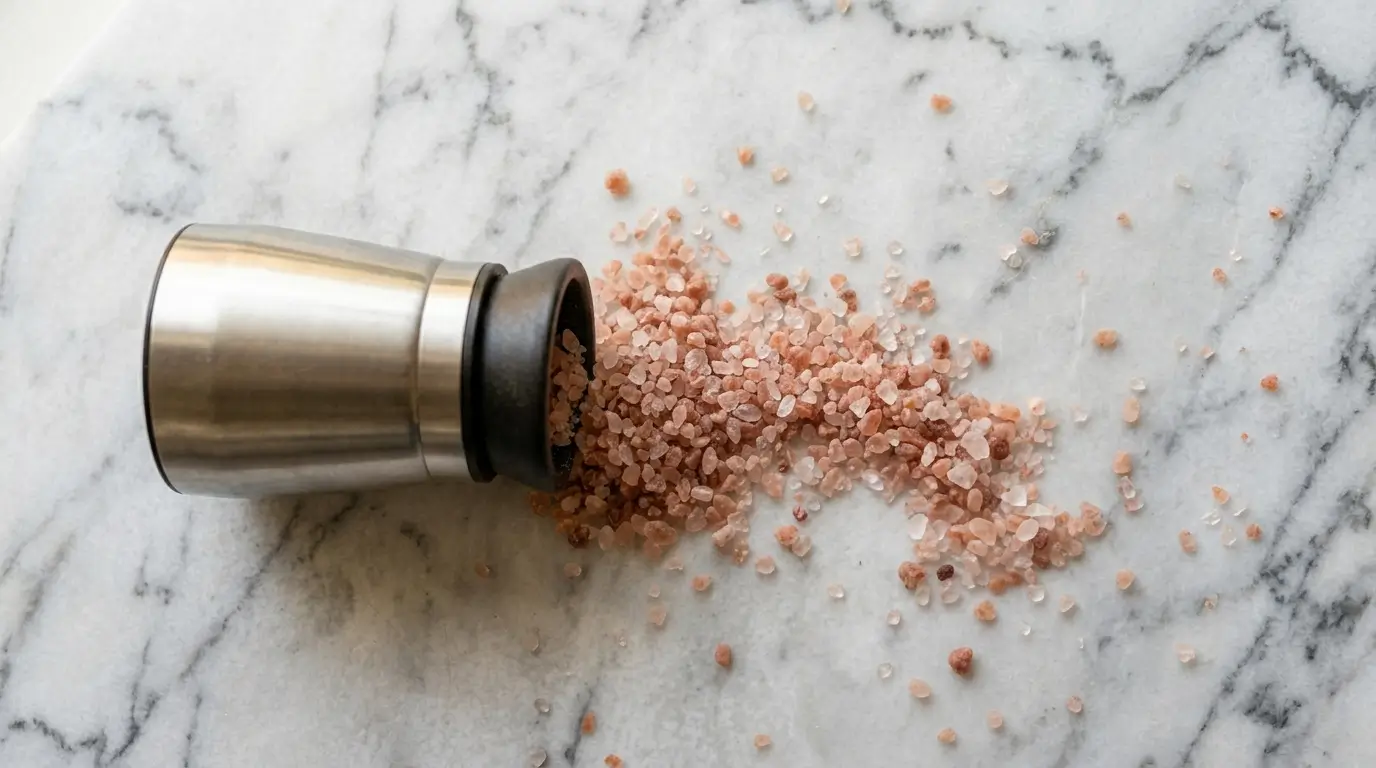
The second factor is crystal size and shape. Pink Himalayan salt is almost always sold in coarse, irregular chunks rather than the uniform granules of table salt. Irregular crystals require more torque to fracture and can wedge against grinder burrs at awkward angles, accelerating wear on mechanisms that weren’t built to handle that kind of stress.
The practical outcome: a grinder rated for regular salt or pepper will wear out two to five times faster with coarse pink salt. Cheap acrylic-and-steel units — the disposable kind sold prefilled at grocery stores — are essentially single-use with pink salt. They’ll work for a few weeks, then the mechanism strips or seizes.
Ceramic vs. Steel Grinder Mechanisms
The single most important decision when choosing a pink salt grinder is the mechanism material.
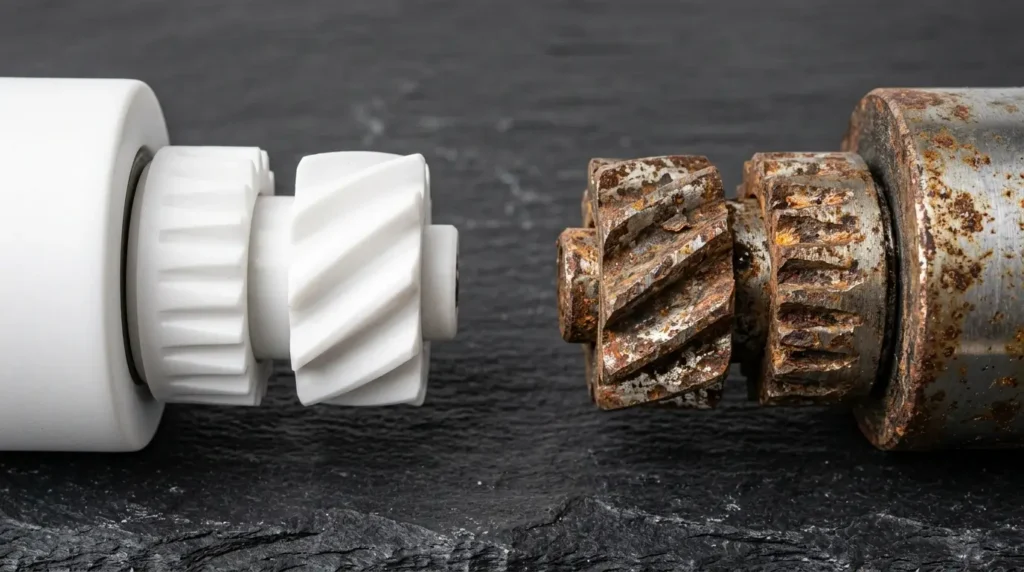
Steel mechanisms (including carbon steel and lower-grade stainless) corrode in the presence of salt and moisture. Salt is hygroscopic — it actively draws water out of the air — which means the interior of a salt grinder is perpetually damp. Carbon steel rusts within months. Even stainless steel, which is far more corrosion-resistant, can eventually develop surface pitting when in sustained contact with salt in a humid kitchen environment. Corrosion roughens the burr surfaces, which reduces grinding precision and eventually causes the mechanism to jam.
Ceramic mechanisms solve both problems at once. Ceramic is non-reactive (no corrosion, ever) and harder than steel burrs, so it resists abrasion from the silica-bearing minerals in pink salt far better. A quality ceramic grinding mechanism will outlast a comparable steel mechanism by years when used with pink salt. It’s not just a durability preference — for pink salt specifically, ceramic is the correct technical choice.
What to look for when buying: the product listing or packaging should explicitly state “ceramic mechanism” or “ceramic burr.” If it says “precision grinding mechanism” without specifying the material, assume steel until proven otherwise. The mechanism is almost always located at the base of the grinder and is adjustable for coarseness by turning the cap or the bottom nut.
Manual vs. Electric Grinders for Pink Salt
Both work well when properly specified. The choice depends on how you cook.
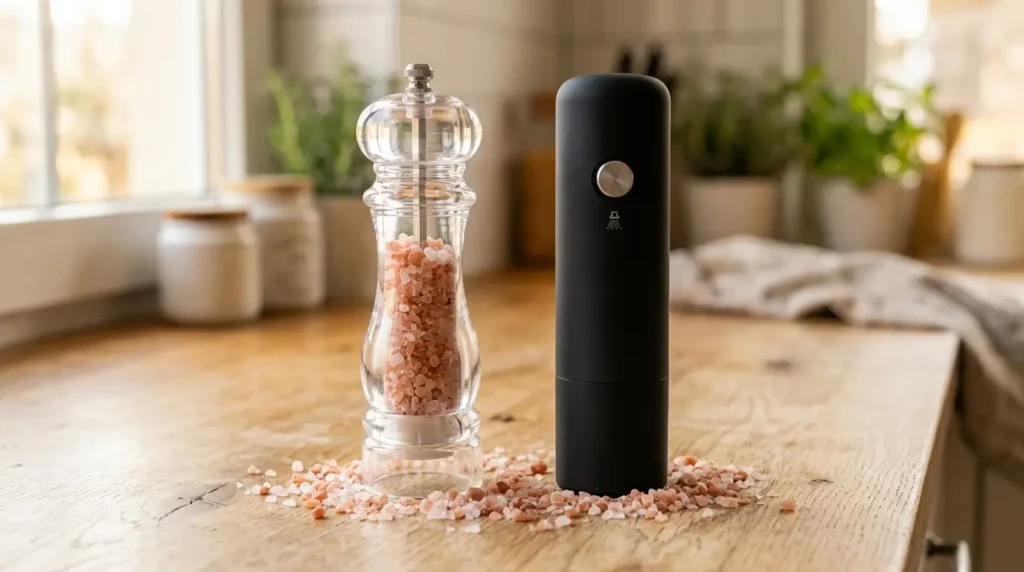
Manual grinders are the default recommendation for home kitchens. They’re lighter, quieter, easier to control, and simple to disassemble for cleaning. Because you’re applying your own torque, you naturally moderate the grinding pressure, which reduces wear. Manual grinders with ceramic mechanisms are widely available and reasonably priced. The main limitation is volume: seasoning a large batch of roasted vegetables by hand gets tedious.
Electric grinders are useful for anyone doing high-volume cooking or wanting one-handed operation at the stove. The caveat is that most electric salt mills use steel mechanisms, because steel is easier to motorize at low cost. If you want an electric grinder for pink salt, you need to verify that it contains a ceramic mechanism — not just that it’s marketed as suitable for salt. A few reputable brands now offer electric models with ceramic burrs; they cost more, but they won’t corrode inside your spice drawer.
One additional note on electric grinders: the motor housing is often sealed, which traps humidity around the mechanism and accelerates corrosion in steel units. This makes the ceramic requirement even more important for electric models than for manual ones.
Recommended Grinders for Pink Salt
Rather than list specific products here, the full pink salt grinder buying guide covers six tested options across manual, electric, budget, and premium categories — each verified to have a ceramic mechanism. That guide is the right place to make a final purchase decision.
The short rule of thumb: budget at least $15–$20 for a manual ceramic grinder. Below that price point, the mechanism is almost certainly steel. For electric ceramic models, expect to spend $30–$50. Anything cheaper is almost certainly cutting corners on the mechanism material.
How Fine Should You Grind Pink Salt?
Grind size isn’t just a texture preference — it affects how salt dissolves, how it clings to food, and how quickly it seasons a dish. Most grinders with ceramic mechanisms offer an adjustable range, typically accessed by turning the cap or the bottom nut.
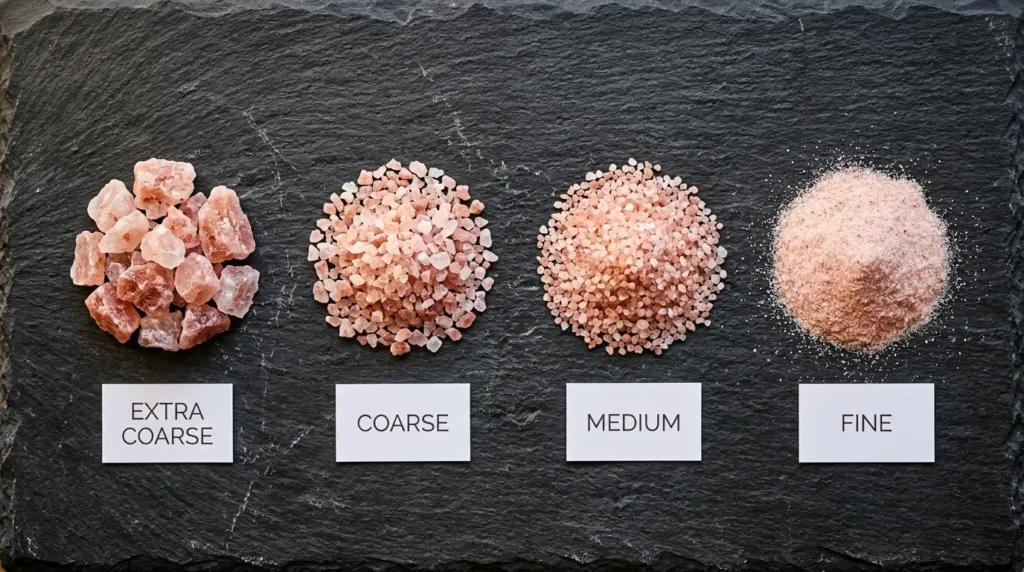
Extra coarse — large, chunky crystals. Best for brining large cuts of meat, making fine vs. coarse pink salt decisions when you’re weighing textures, or adding to pasta water where dissolution time isn’t a constraint.
Coarse — the standard setting for most savory cooking. Ideal for crusting steaks and chops before searing, seasoning roasted vegetables, and finishing grilled fish. The larger crystal delivers a clean crunch and a slightly slower hit of saltiness, which can be useful for balance.
Medium — the workhorse setting. Use this for soups, sauces, marinades, and most everyday seasoning tasks where you want the salt to dissolve cleanly without the extra texture of coarse crystals.
Fine — small, quickly-dissolving crystals. Use this for baking (where precise sodium distribution matters), egg dishes, or any preparation where you want salt to incorporate fully without visible flakes. Fine-ground pink salt is also the right choice for a cocktail rim — the crystals adhere evenly to the glass edge.
A practical tip: if you’re used to table salt, hold back slightly when switching to freshly ground pink salt. Coarse pink salt is less dense than iodized fine table salt, so a pinch by volume delivers less sodium than you might expect. Taste as you season rather than measuring by habit.
How to Fill and Use Your Grinder Correctly
This step-by-step process applies to most adjustable ceramic grinders:
- Start with dry salt. Moisture causes pink salt crystals to clump and fuse, which can jam the mechanism. Store your bulk pink salt in an airtight container and only fill the grinder when the salt is dry.
- Fill to about two-thirds full. Overfilling puts pressure on the grinding mechanism at the base and can impede rotation. A two-thirds fill also allows the crystals to tumble freely, which improves consistent grinding.
- Set your coarseness before you start. On most grinders, tightening the cap or bottom nut produces a finer grind; loosening produces coarser. Set it before grinding — adjusting mid-use while there’s salt in the burrs can cause jamming.
- Grind in short, controlled rotations. Don’t force it. If the grinder feels stiff or gritty, stop and inspect the mechanism — a rogue large crystal may be wedged in the burrs. Tipping the grinder upside down and tapping the base lightly usually dislodges it.
- Season from height. Holding the grinder 8 to 12 inches above the food distributes the ground salt more evenly than grinding directly onto the surface.
Cleaning and Storing Your Salt Grinder
Salt is corrosive and hygroscopic. Both properties accelerate grinder wear if the unit isn’t maintained correctly.
Never wash a salt grinder with water. Water dissolves residual salt crystals and pushes the brine directly into the mechanism. If corrosion is the enemy, rinsing with water is the fastest way to lose. Instead, clean the mechanism by grinding a small amount of dry white rice through it — the rice acts as a mild abrasive that scours residue without introducing moisture.
Store in a dry place with the cap on. A grinder left uncapped on a humid countertop (next to the stove, near the dishwasher vent) will draw moisture into the mechanism and the salt will cake. If you live in a humid climate, keep the grinder in a cabinet rather than on an open spice rack.
Empty and clean before refilling. Old, compacted salt at the bottom of the mechanism is a common cause of jamming. Before adding fresh salt, tip out any residual crystals, run the rice cleaning method once, and let the mechanism air for a few minutes before refilling.
The Bottom Line
Grinding pink salt correctly comes down to two things: using the right mechanism (ceramic, always) and matching the coarseness to what you’re actually cooking. A well-chosen grinder with a ceramic burr will handle Himalayan pink salt for years without corroding, jamming, or stripping — and the difference between freshly ground pink salt and pre-ground salt is worth experiencing at least once.
For a side-by-side breakdown of when to cook with fine versus coarse pink salt — including measurement conversions — see fine vs. coarse pink salt: which to use when. And if you’re ready to choose a specific grinder, the best pink salt grinders guide covers six tested options with full ceramic mechanism verification.